
Dispatch I
You need to kill a close friend of Martin that currently incarcerated and then escape the police station.
Walkthrough of the Second Martin’s Dispatch Mission
| For | Martin Madrazo |
|---|---|
| Players | 2–4 |
| Required level | 1 |
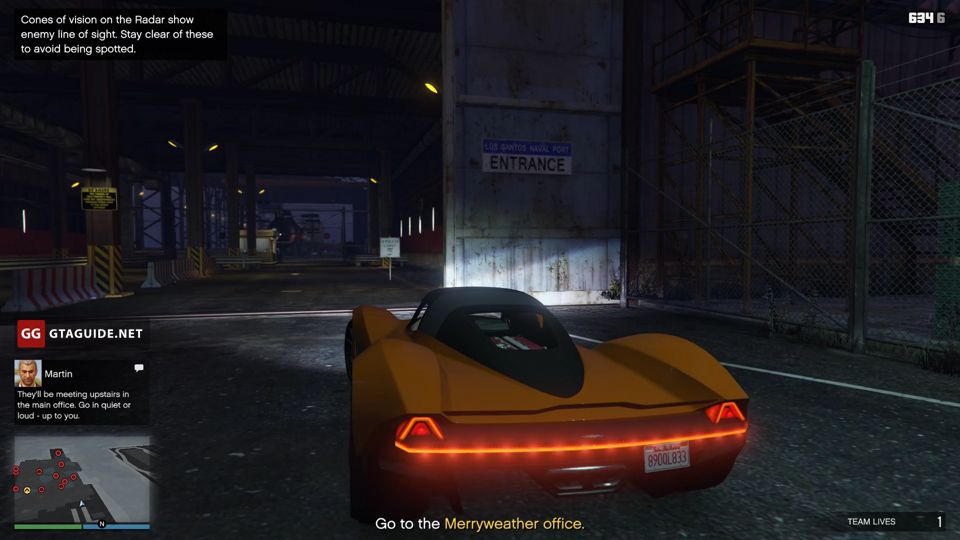
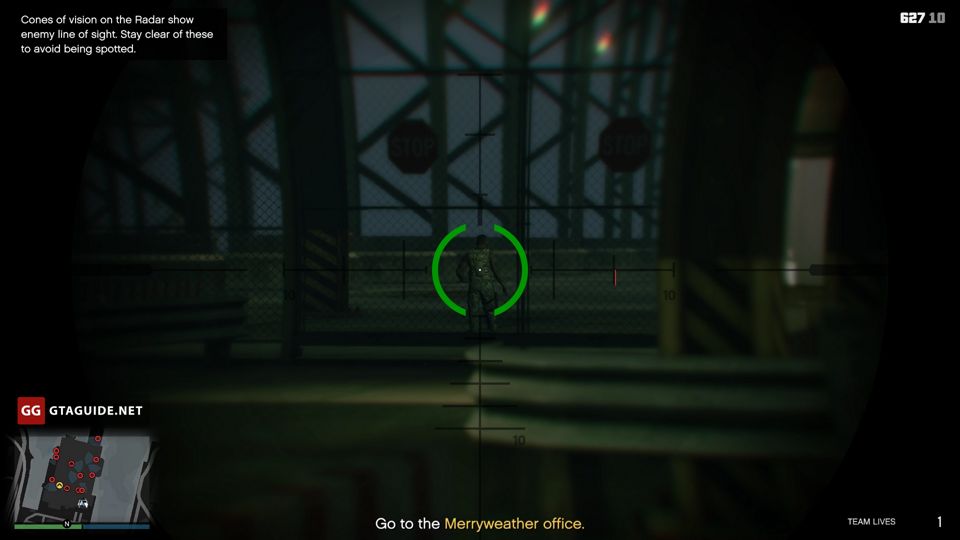
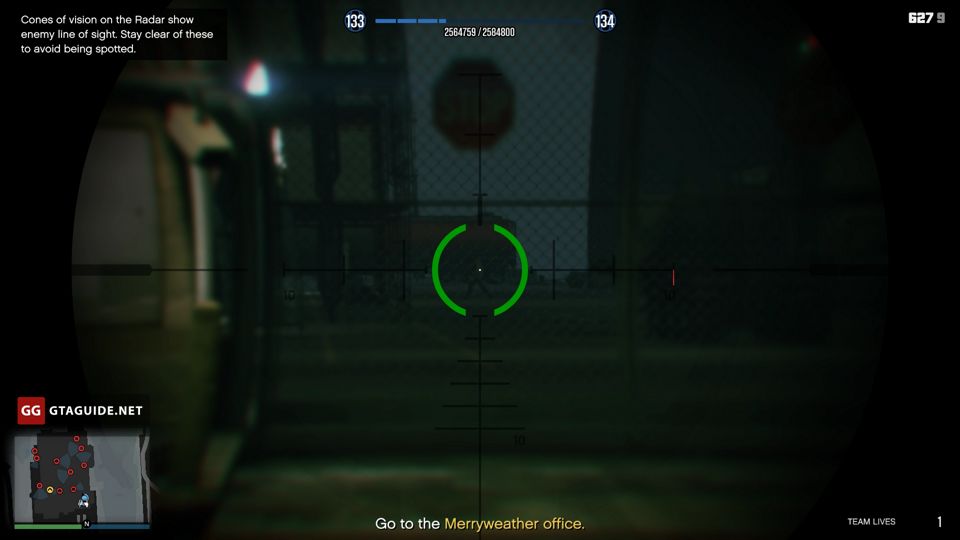
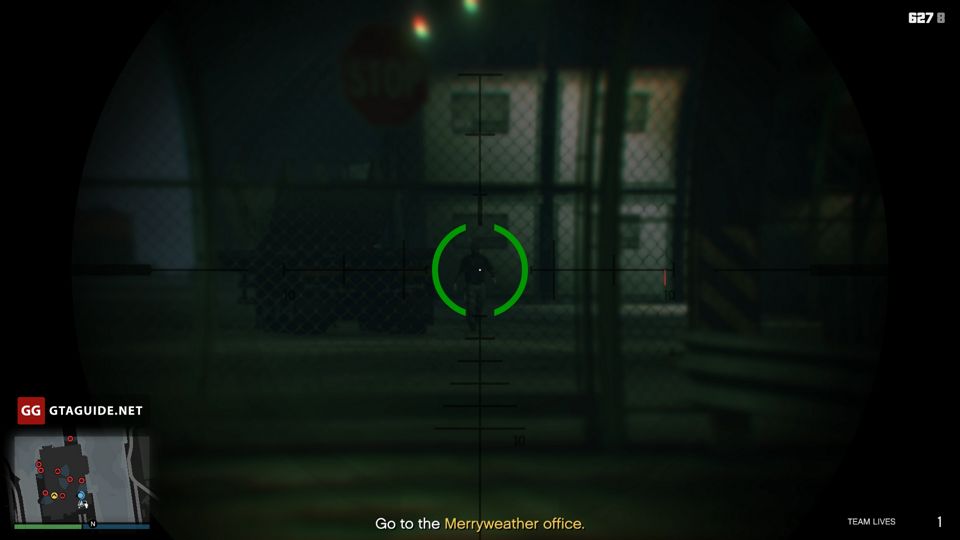
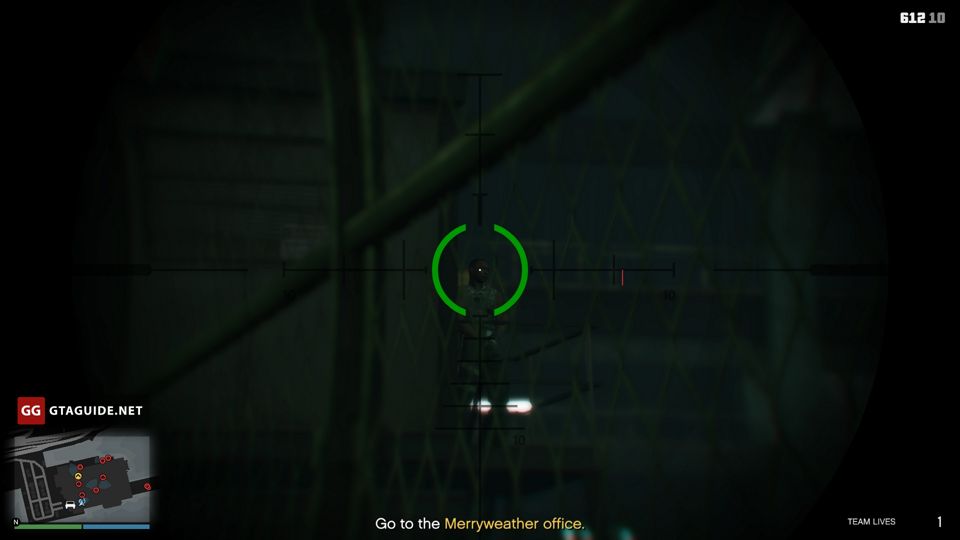
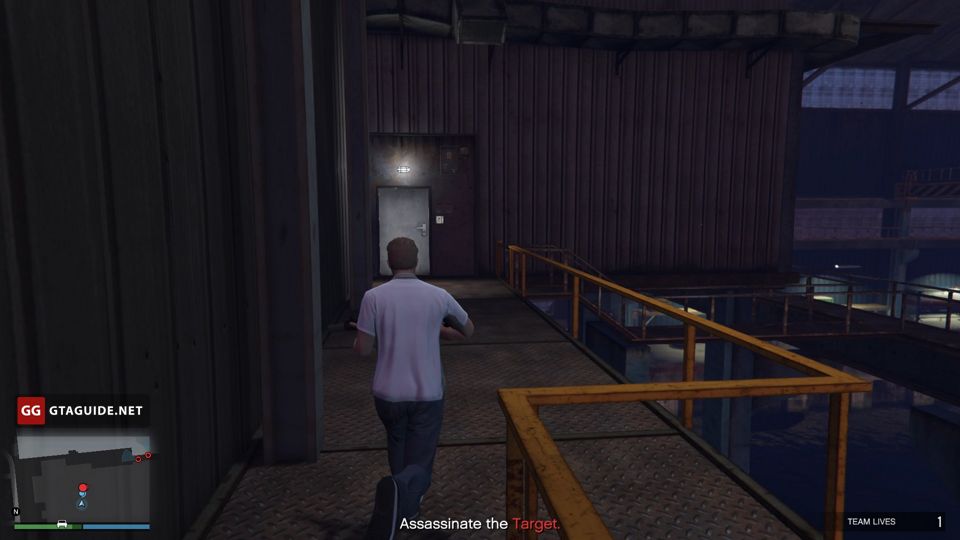
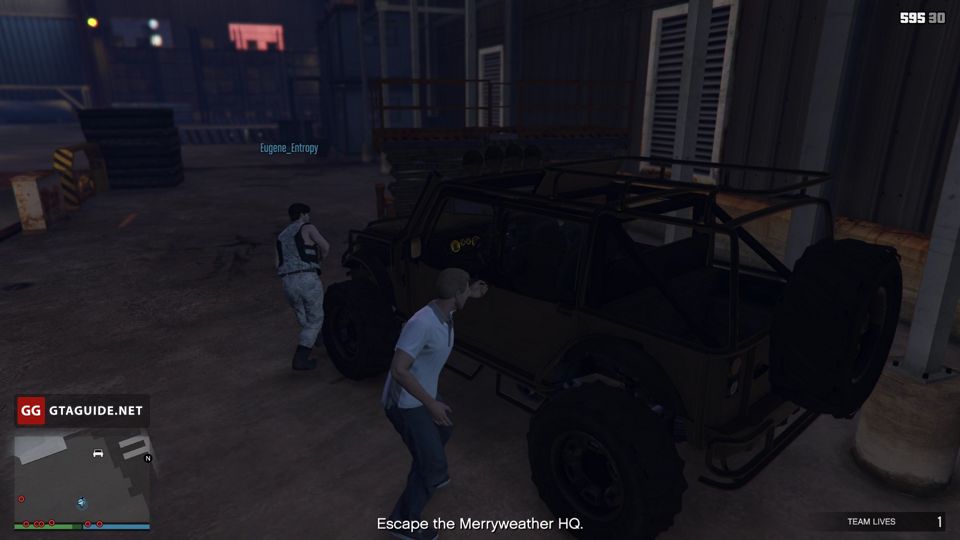
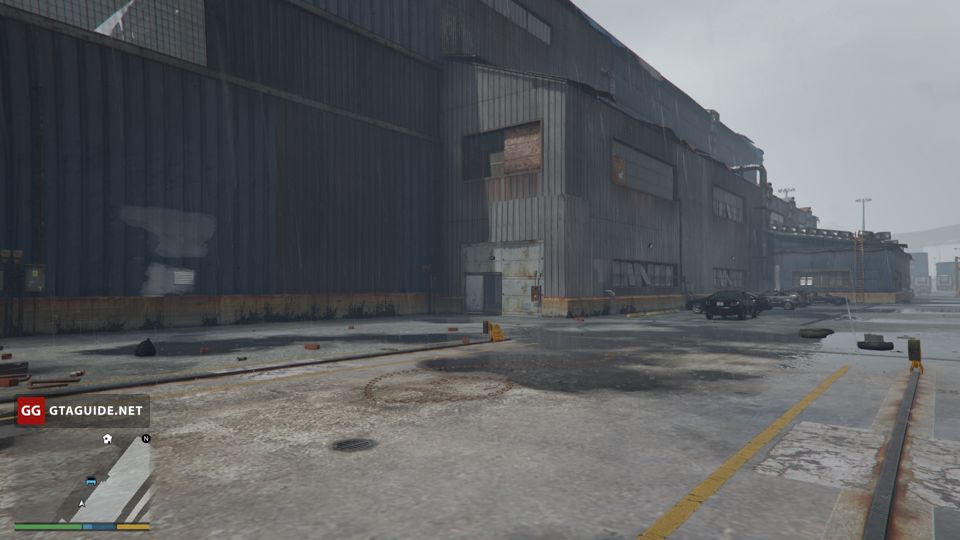
Head to Merryweather HQ and stop at a significant distance of the entrance to the hangar. If the Merryweather soldiers detect you, they raise the alarm. It doesn’t lead to the mission failure but makes it more difficult. Therefore kill as many enemies as you can before entering the hangar using suppressed weapons. Enemies’ lines of sight are shown by cones on the radar. Stay clear of these and don’t make noise to avoid being spotted.
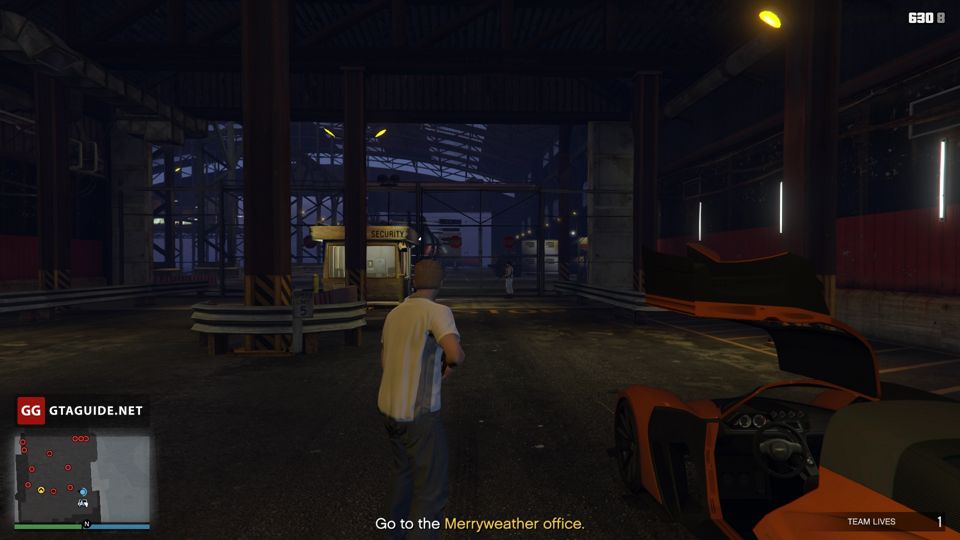
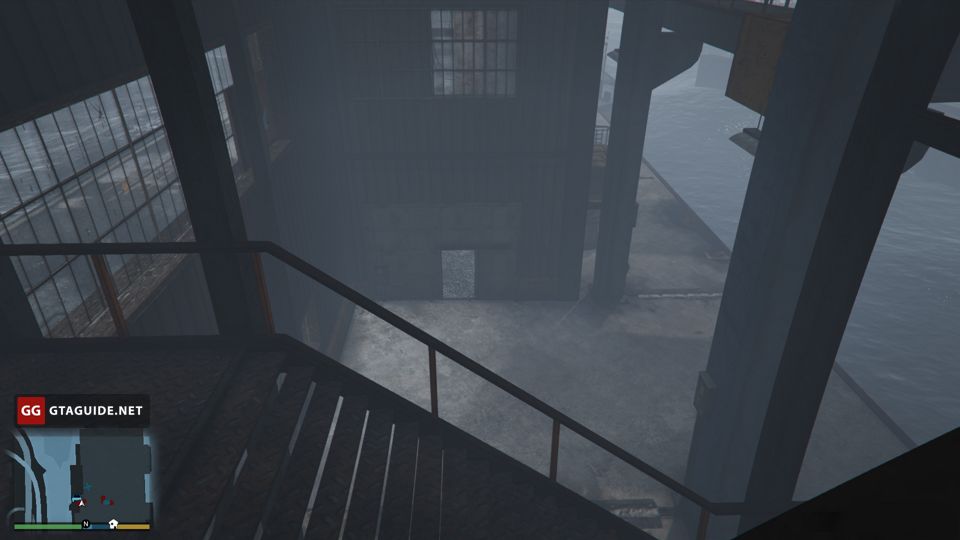
The doors are locked. To get inside, climb up the security booth and then climb over the fence.
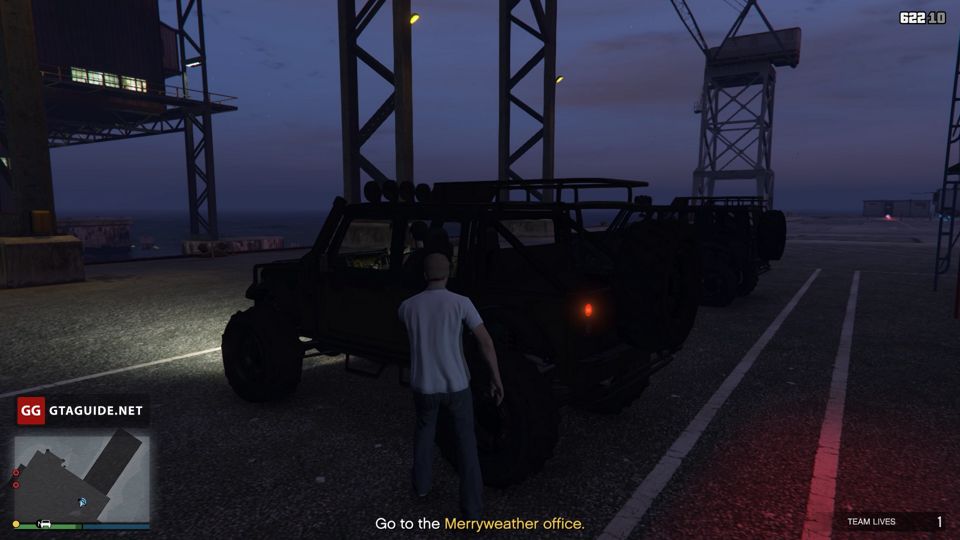
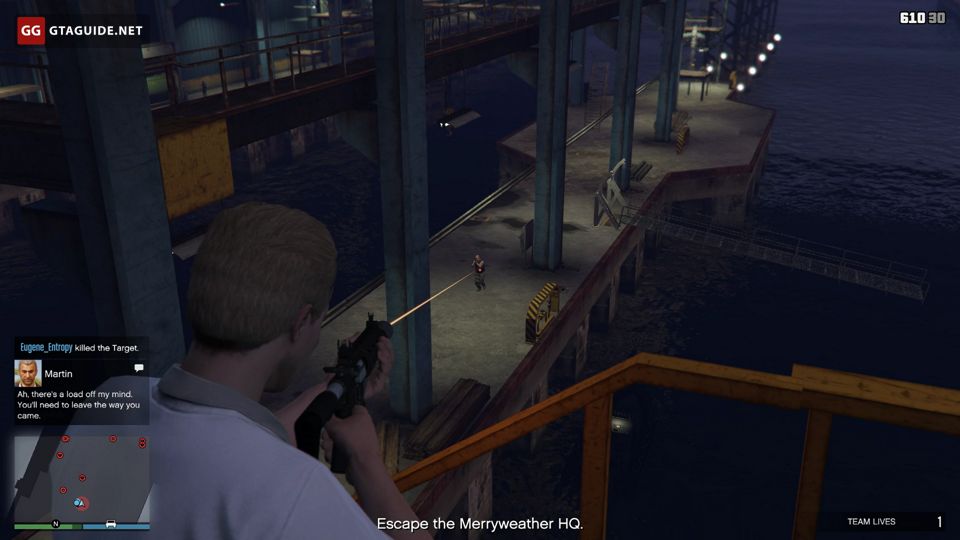
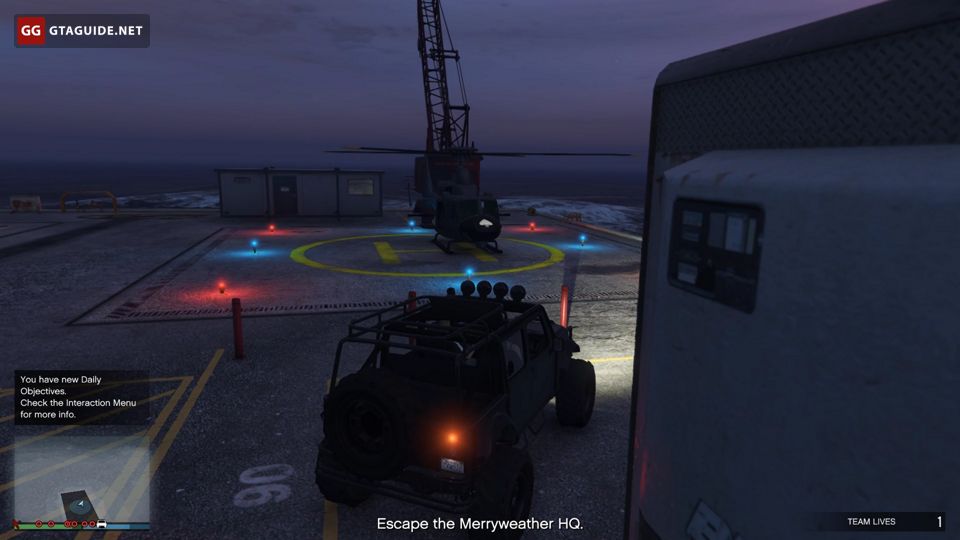
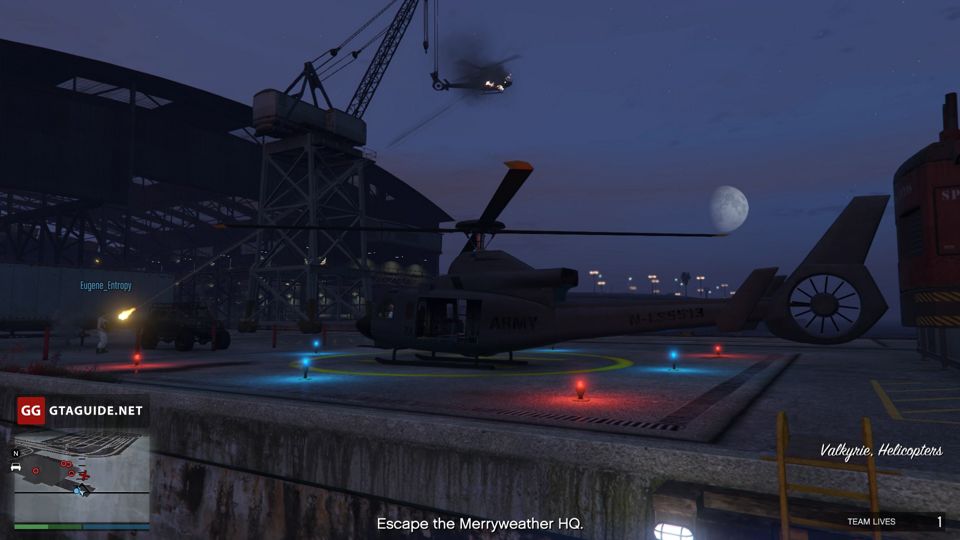
Kill all the enemies, except those two that stand outside the hangar on the left of the entrance. Next, get one of the Mesas and park it near the office. Also, pay attention to a helicopter on the helipad near the water — it’s the easiest way to escape at the end of the mission.
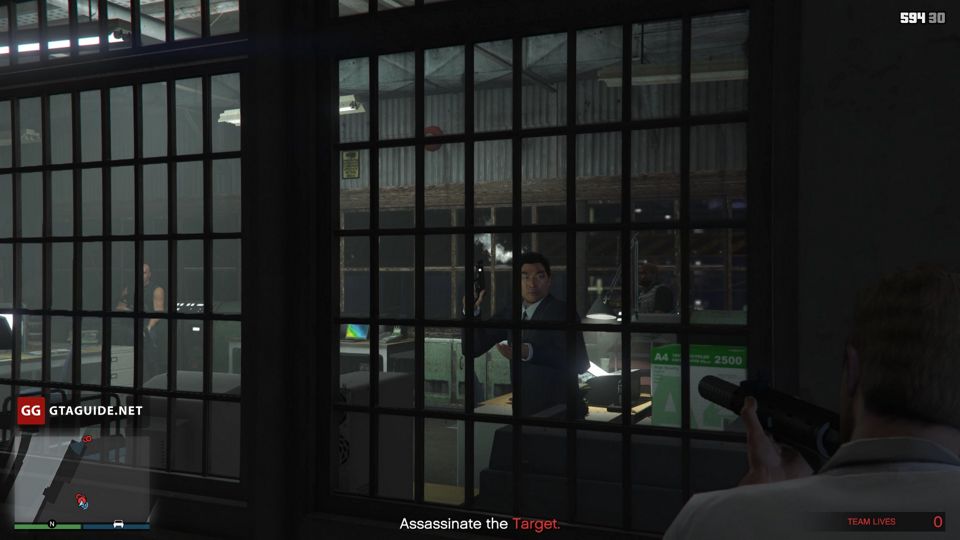
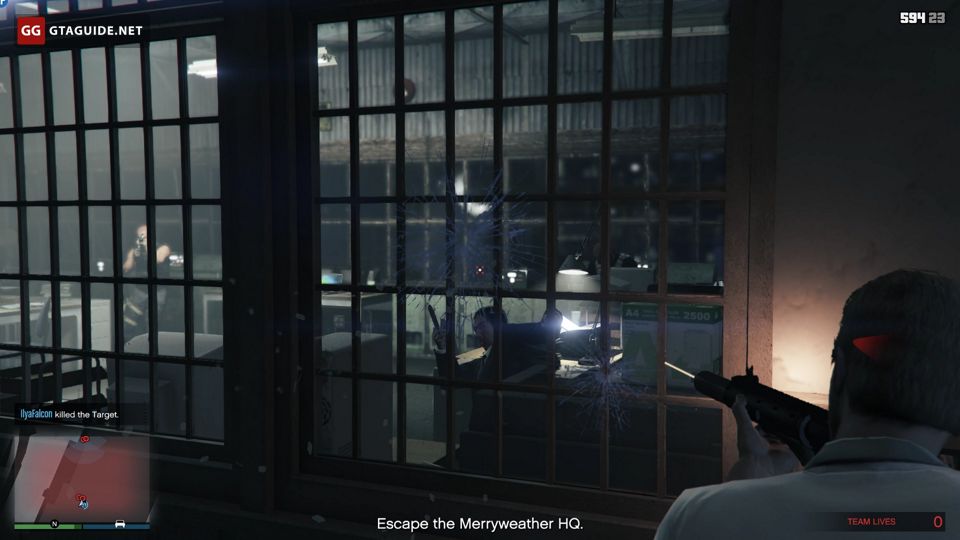
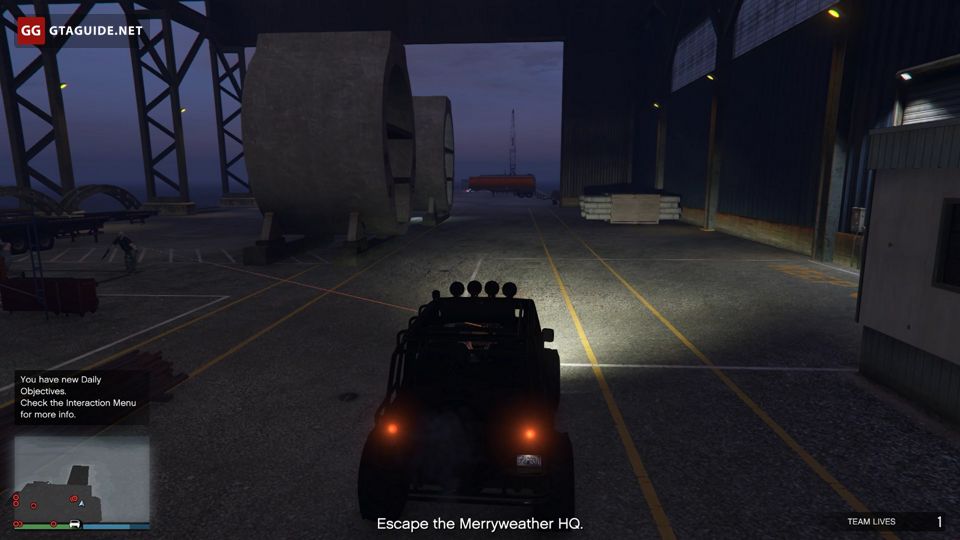
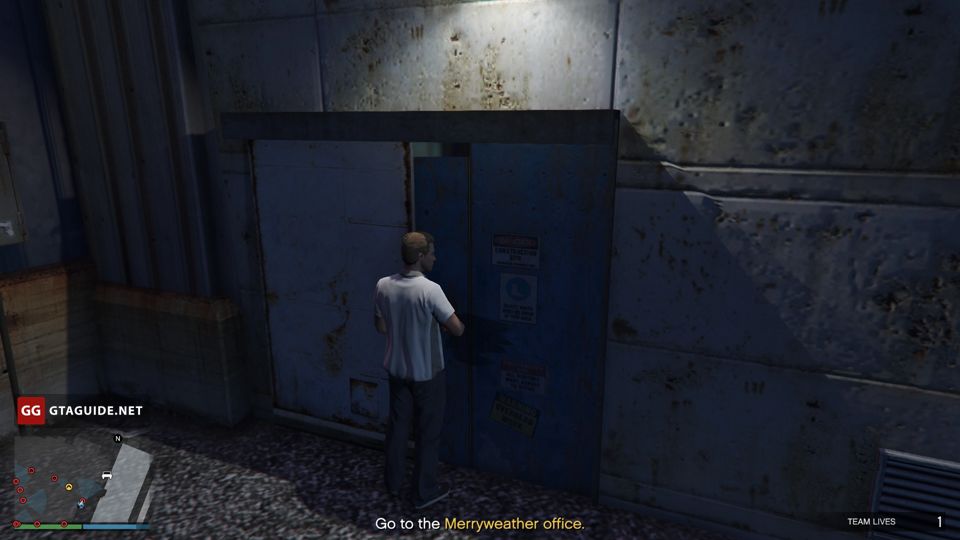
Go to the Merryweather office and shot the target through the windows. It will cause an alarm, and new enemies will appear in the hangar.
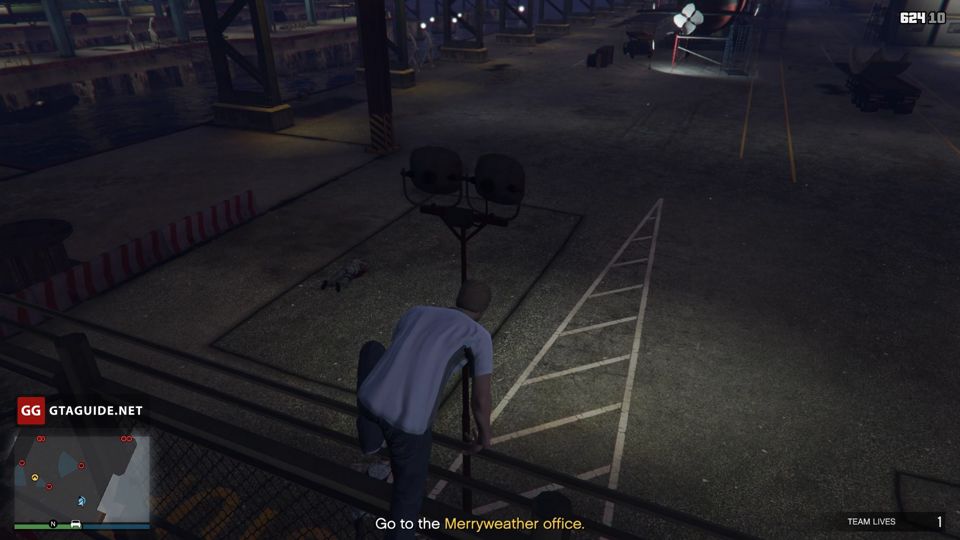
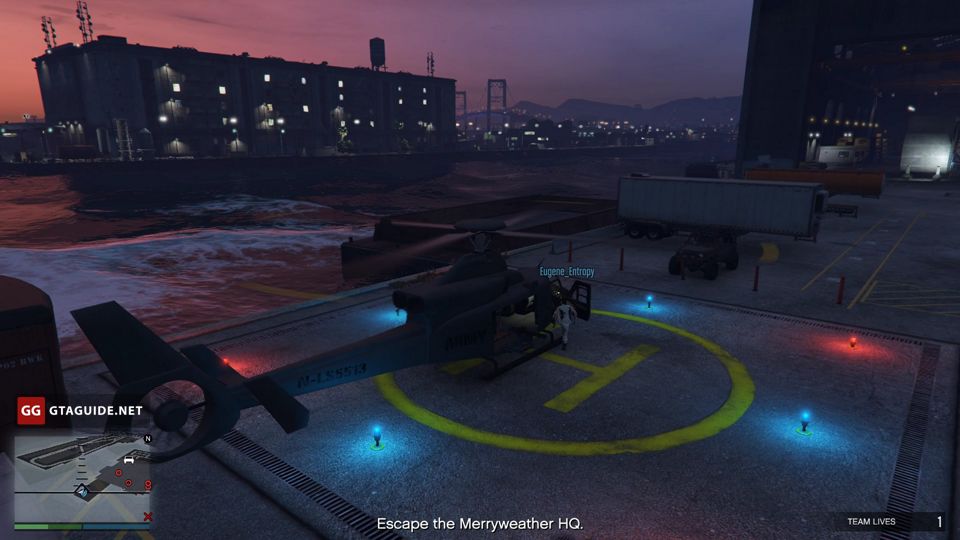
Go down to the Mesa you previously prepared and drive to the helicopter shooting back the attackers.
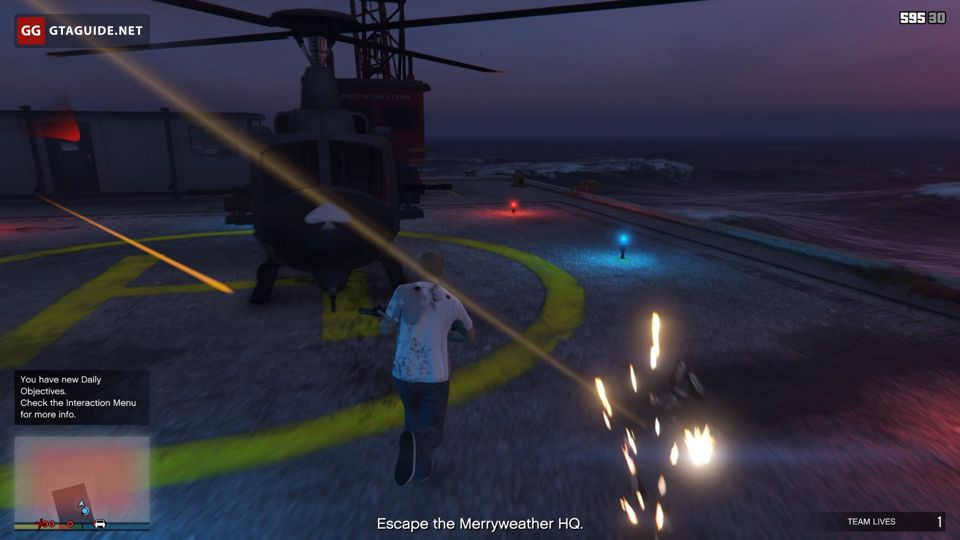
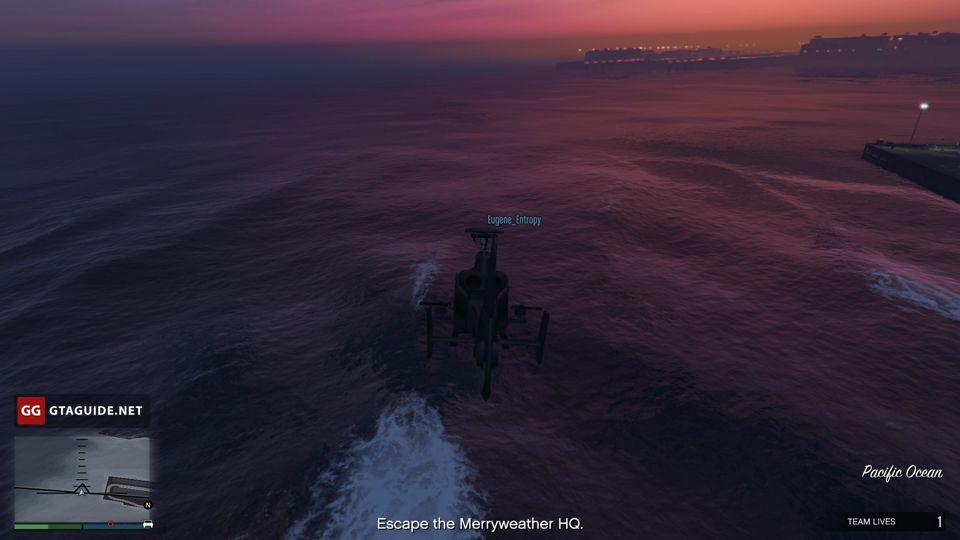
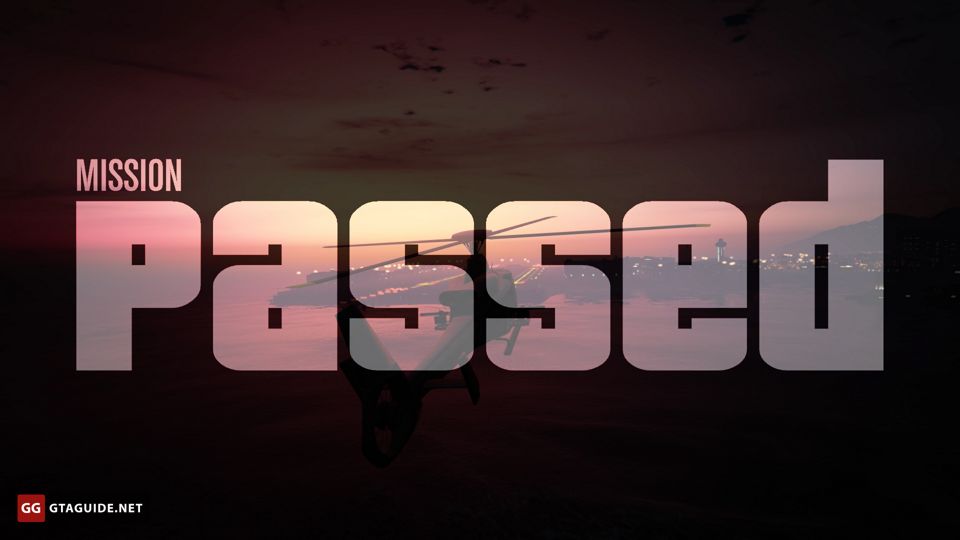
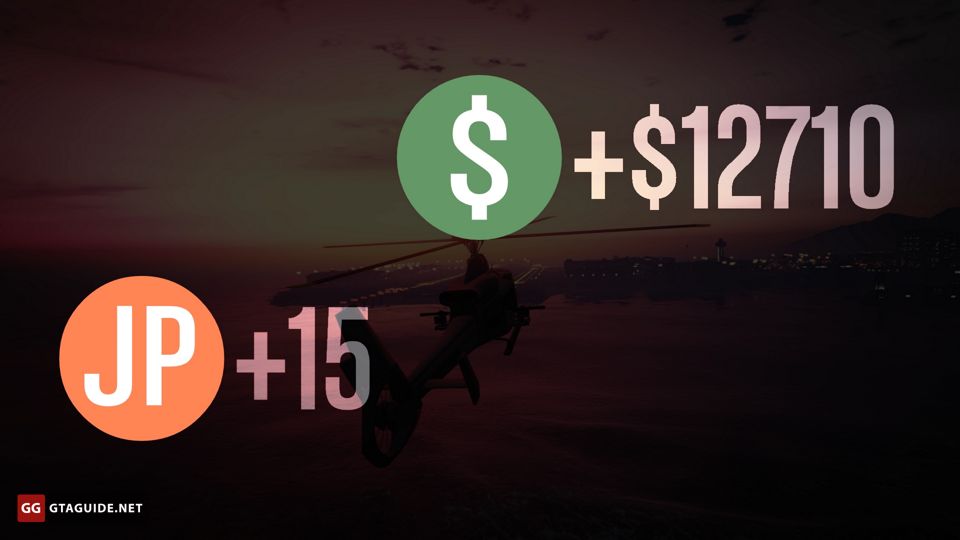
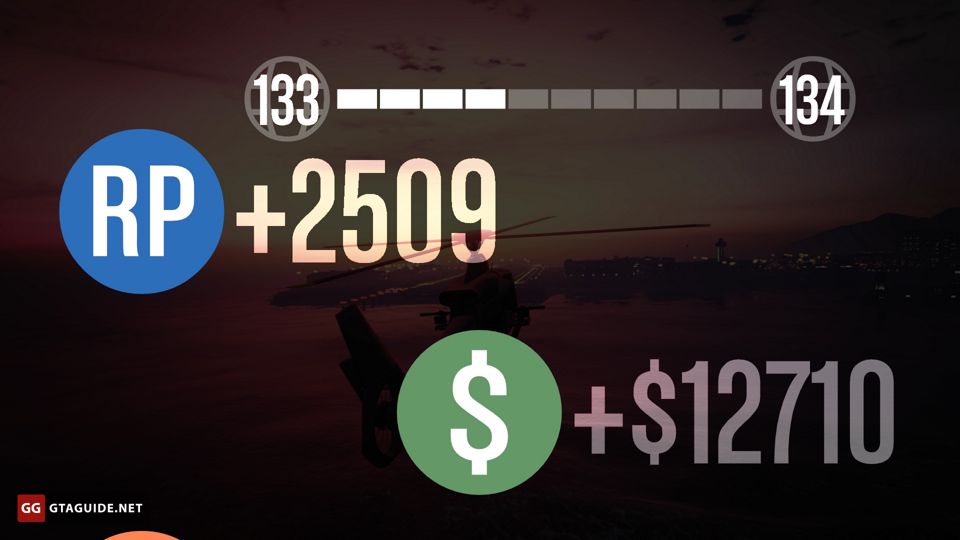
Outside, you will be shelled by a Valkyrie helicopter — the same model as you need to use to escape. Shoot it down using onboard miniguns or any other weapons. After that fly away from the hangar and the mission will be completed.
Video walkthrough: youtu.be/Pdwqd137LoM.
P.S. The door in the east part of the hangar is locked during the mission and you can’t escape through it. We checked it out.
The mission accomplished on hard difficulty by two players. Thanks to Eugene for help.
You need to kill a close friend of Martin that currently incarcerated and then escape the police station.
You need to go to the airport, kill a translator who was affiliated with Martin and then escape.
You need to kill one of Madrazo’s dealers at the recycling plant in La Puerta.
You need to eliminate five targets in any order.
You need to assassinate from 2 to 4 targets, relative to a number of players participating.
Contact missions are similar to the story missions and the strangers and freaks missions in GTA 5, except that their accomplishment isn’t estimated in percentage and in most cases they don’t have a common plot.
Nightclubs in GTA Online are businesses included in the game as a part of the After Hours update. Any of the ten clubs can be purchased at the Maze Bank Foreclosures website.
Client Jobs in GTA Online are Freemode missions which can be started in the Terrorbyte’s Nerve Center.